User interface
Overview
Material Maker mainly consists of 3 panes:
- The top left pane is the library, that contains all available nodes that can be used to create materials. Library items are shown in a tree view
- The bottom left pane is the preview, that shows at the same time the current material applied to a sample mesh in a sample environment, and the texture generated by the currently selected node
- The right pane contains the graph editors where materials are described for current projects
First steps with the user interface
When opening Material Maker, a new empty project is created and shown in the right pane. An empty project simply consists of a material node where textures for all elements of the material should be connected.
To create a new node, simply choose one (for example “bricks”) from the library (the top left pane) and drag it into the graph editor. Depending on the selected library item, a preview or a simple description will be displayed while dragging.

Selecting this new node (by clicking on it) shows it in the preview pane. The very small 2d preview of the preview pane can be maximized by double clicking on it. This will hide the 3d preview but is useful when working on the different textures of the material.
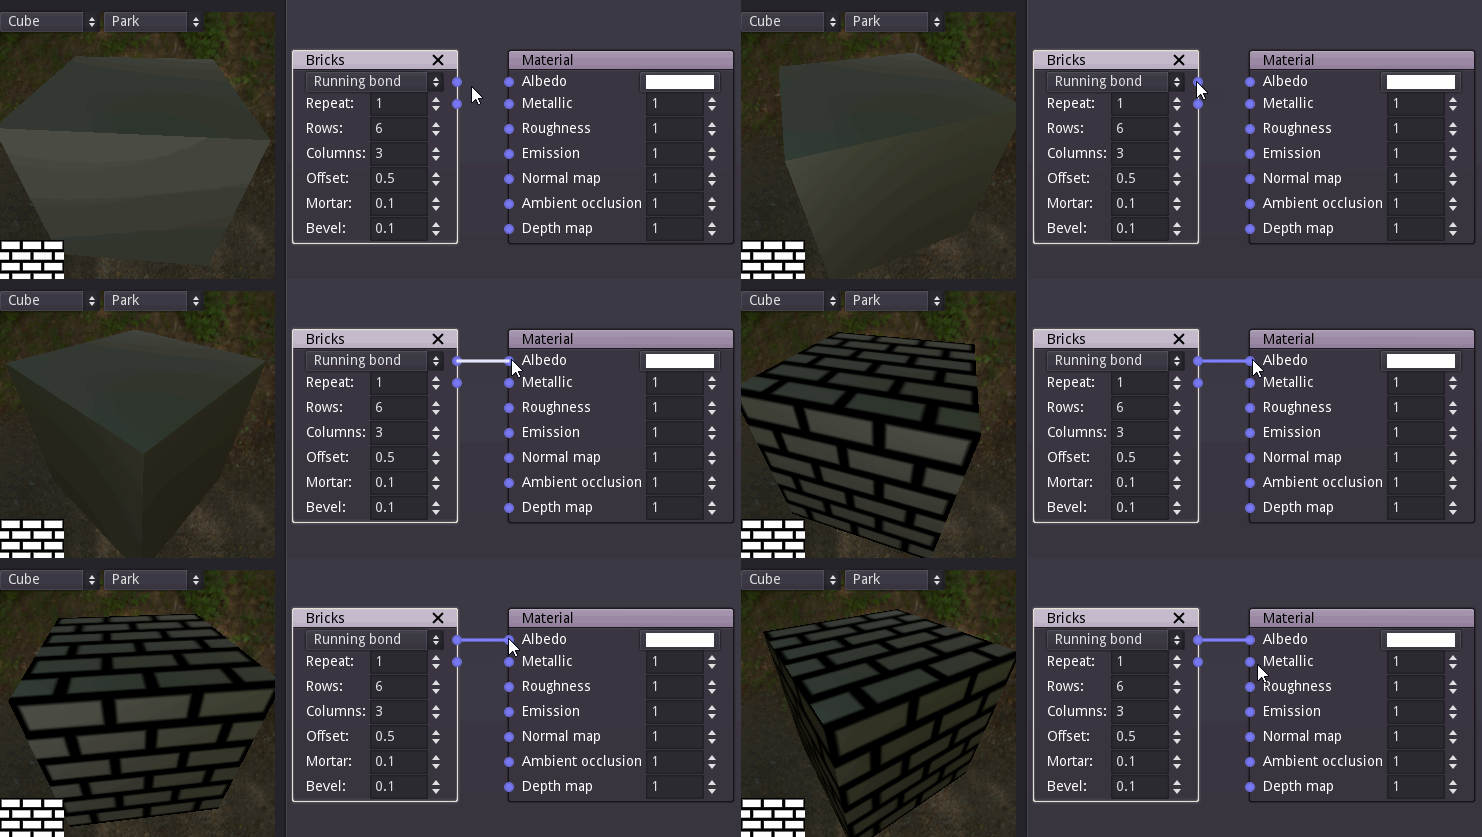
To connect a node output to an input of another node, simply drag one to the other. For example we can drag the first output of the Bricks node to the albedo input of the Materials node. This will automatically assign the simple Bricks texture to the albedo element of the material, and the 3d preview will immediately be updated (if you maximized the 2d preview it can be minimized by double-clicking on it again).

Nodes can easily be configured by modifying their parameters, and previews are updated automatically.
Since each input can be connected to a single output, reconnecting an input will automatically remove the previous connection.